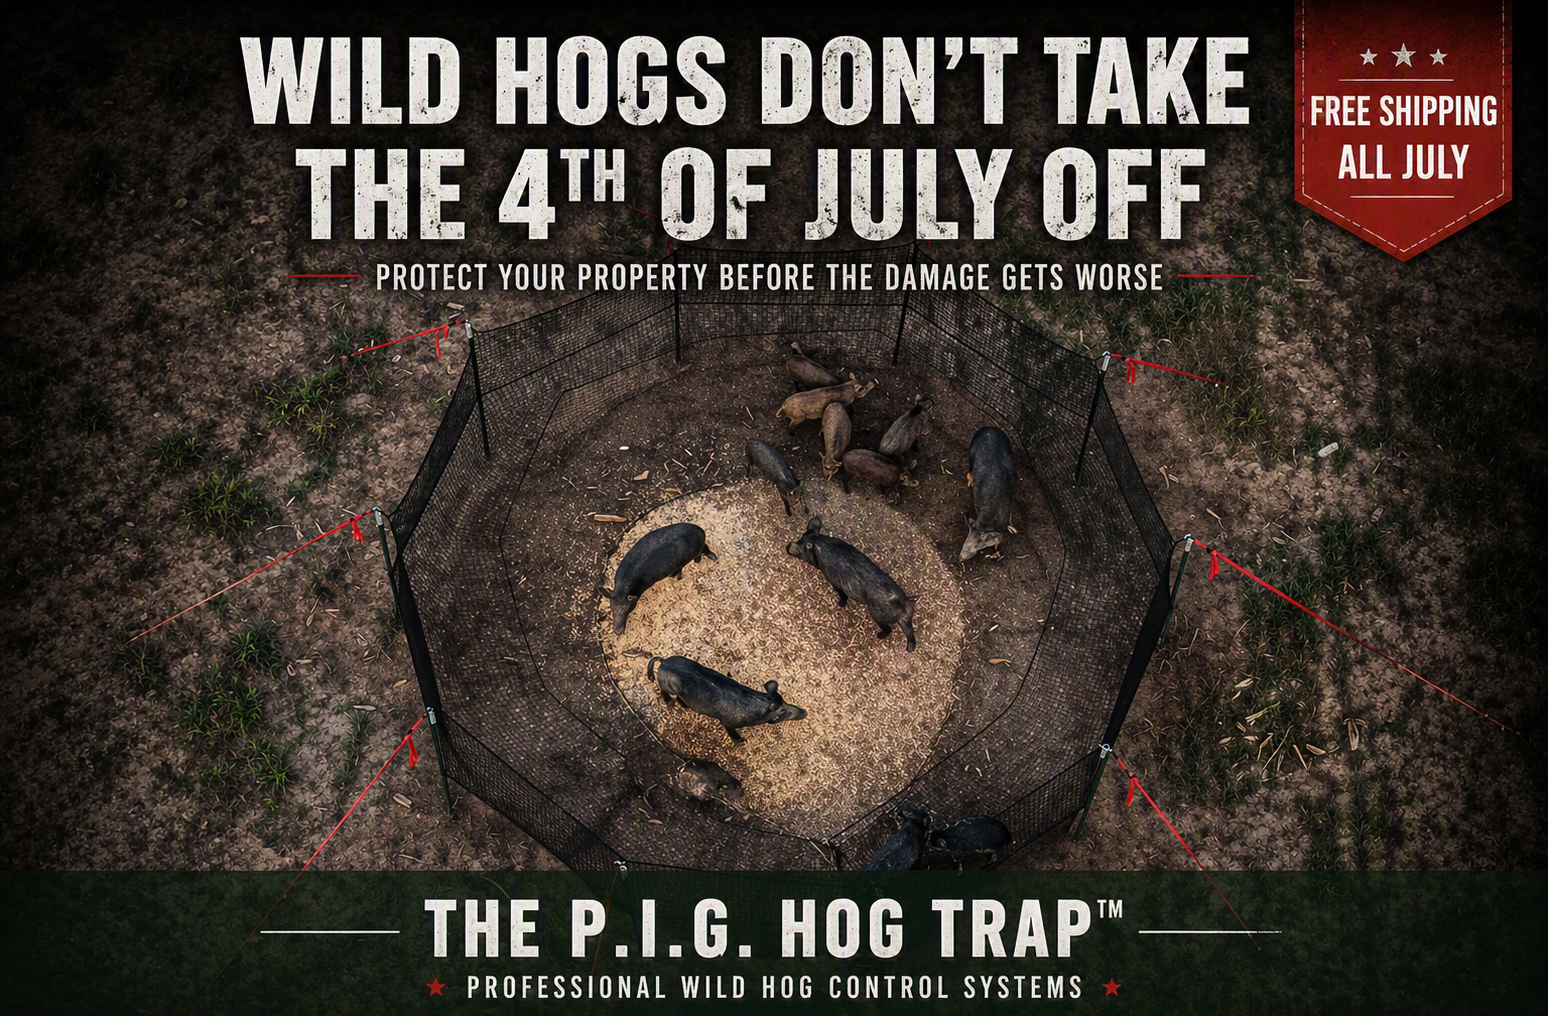

After you inventory the kit, the next step is trap post placement. A clean P.I.G. Hog Trap circle starts with a marked center, correctly faced T-posts, and even spacing around the layout ropes.
In Setup Video #2, we show how to use the long and short measuring ropes, set the first post, and complete the remaining nine posts before the net goes on.
Complete P.I.G. Hog Trap Setup Instructions
Follow the complete step-by-step deployment guide and use the printable setup page in the field.
View the Complete Setup GuideWhat You Will Learn in Setup Video #2
- How to choose and clear the trap site
- How to mark the center of the circle
- How to use the long and short layout ropes
- How to set the first T-post
- How to space and install the remaining 9 posts
- Which way the knotted / nub side of each post should face
What You Need for Post Placement
Layout and Measuring Rope
Use the long rope to set the radius from center and the short rope with carabiner to space each following post.
10 T-Posts
T-posts are not included in the kit. Face the knotted / nub side of each post toward the center.
Post Driver and Hammer
Drive each post securely so the circle stays true when the net and straps are tensioned later.
Screwdriver
Drive a screwdriver into the ground at the center point to hold the layout rope in place.
Choose and Clear the Site
Pick a flat area with hog activity. Walk a full circle around the intended center and clear brush, limbs, and obstacles so the posts and net sit cleanly.
Mark the Center and Set the First T-Post
Place the inner end of the longest layout rope at the center and drive a screwdriver into the ground to hold it. Stretch the long rope out and drive the first T-post at the end of that rope. Face the knotted / nub side of the post toward the center.
Install the Remaining T-Posts
Clip the short rope’s carabiner to the back of the first post’s center nub. Pull both ropes tight. Drive the next post at the end of the two ropes. Repeat around the circle until all 10 posts are in and spacing is even. Remove the measuring ropes.
Setup Tip: Walk the full circle before driving posts. If the first posts are off, the last posts will not close evenly and the net will not sit true.
Why Post Placement Matters
Even spacing keeps the net from leaning when the straps are tightened. Facing every knotted / nub side toward the center also makes bracket and ring installation faster in the next videos.
Once all 10 posts are in, you are ready for ground anchors, straps, and net deployment.
Continue the Setup Series
Start with kit inventory, then move through post placement, anchors, net deployment, training mode, and trap mode.
Watch Setup Video #1: What Comes in the Box?
View the Full Video SeriesReady for the Next Step?
Continue with the complete setup guide for ground anchors, net deployment, training mode, baiting, and trap mode.
Open the Complete Setup Guide