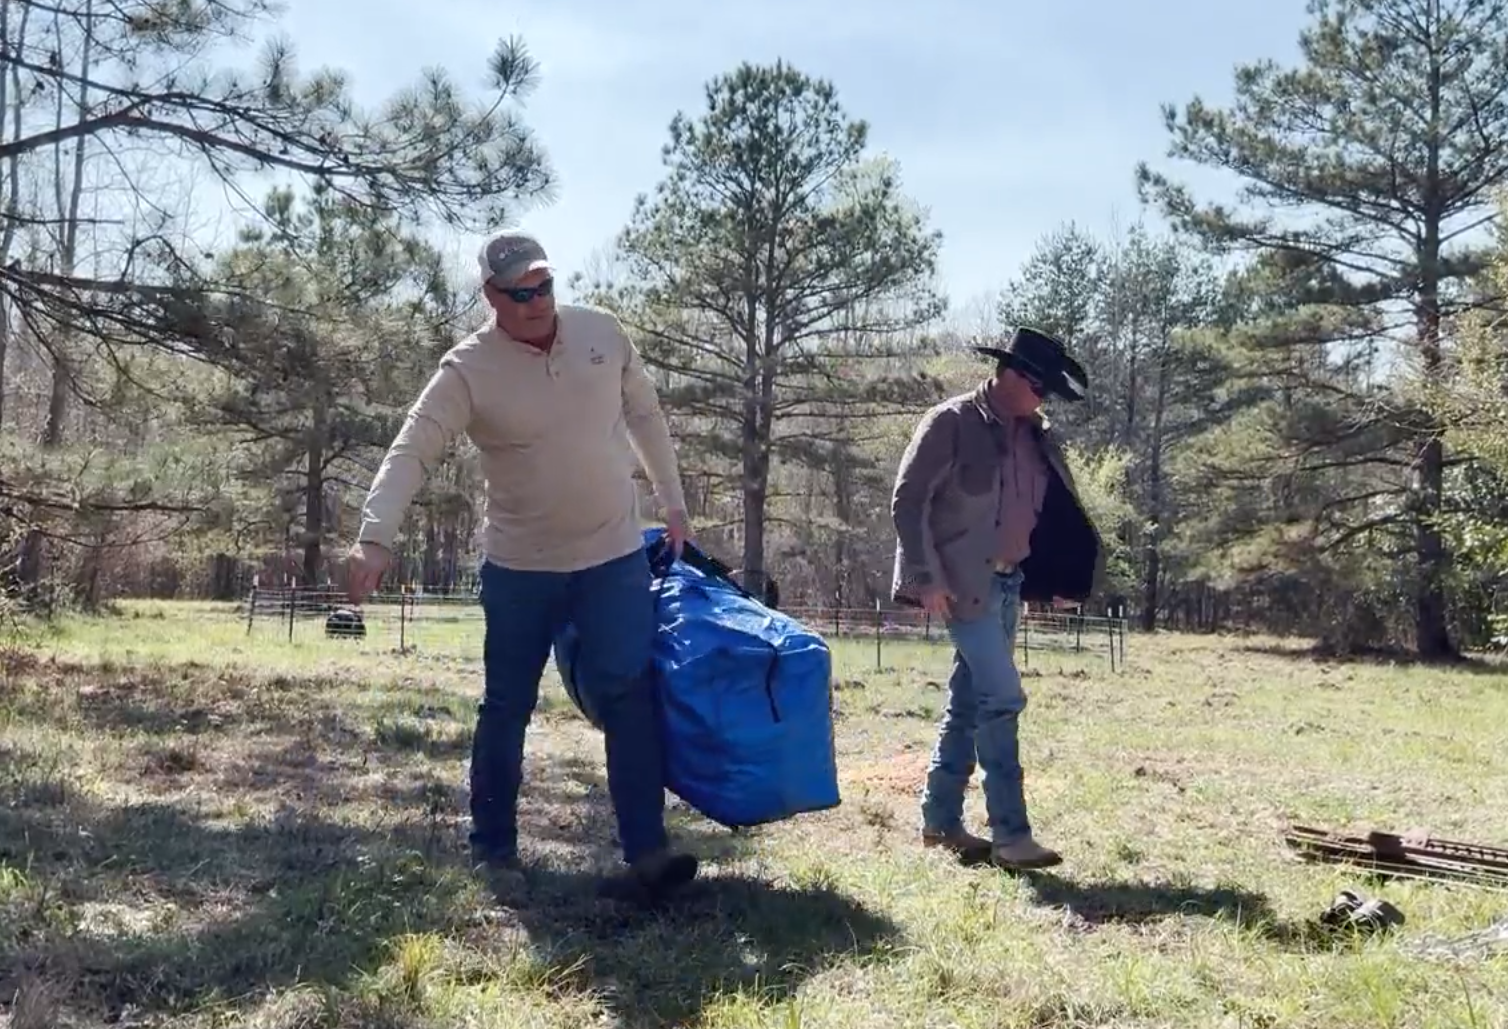

Before deploying The P.I.G. Hog Trap, take a few minutes to inventory the kit and gather the tools needed for installation. Proper preparation keeps setup organized and confirms every required component is ready before work begins in the field.
In the first video of our P.I.G. Hog Trap setup series, we review what comes in the blue storage bag, identify the tools the installer must provide, and explain how to prepare for the next stage of deployment.
Complete P.I.G. Hog Trap Setup Instructions
Follow the complete step-by-step deployment guide and use the printable setup page in the field.
View the Complete Setup GuideWhat You Will Learn in Setup Video #1
- What is included with The P.I.G. Hog Trap
- How to inventory the trap components before setup
- Which installation tools you need to provide
- How to organize the equipment before entering the field
- How to prepare for an efficient trap installation
What Comes in the P.I.G. Hog Trap Kit?
Unpack the blue storage bag and confirm that each included component is present before beginning installation.
Layout and Measuring Rope
A long rope and short rope with a carabiner used to establish the trap circle and keep post spacing even.
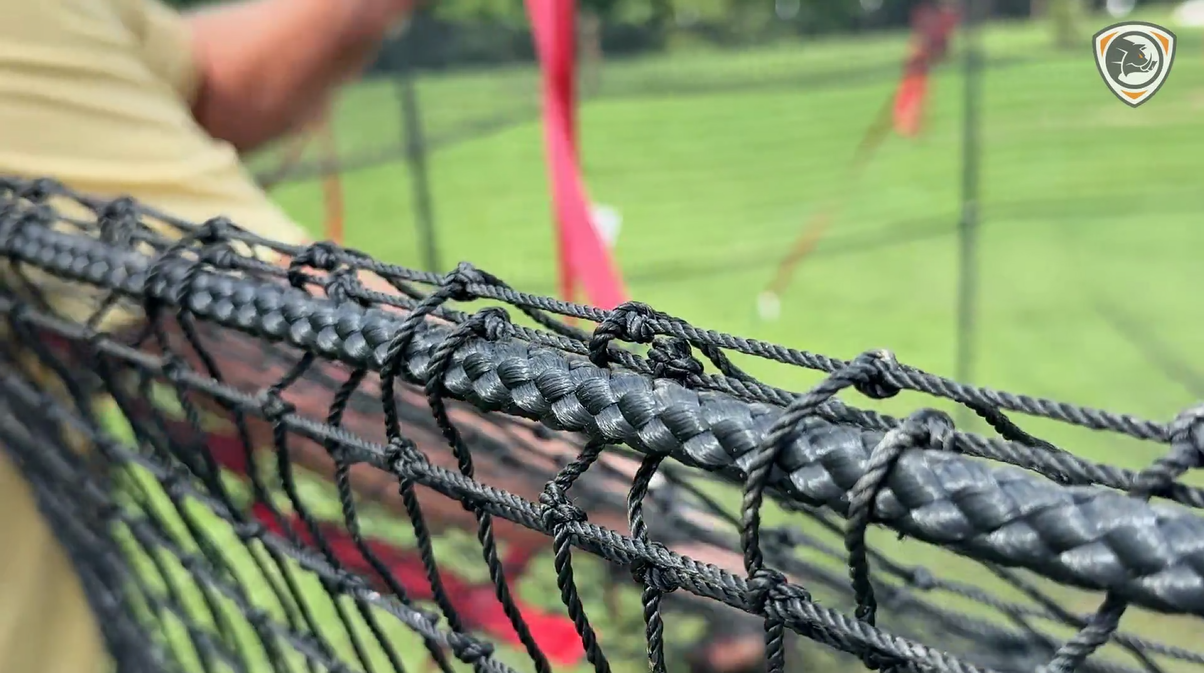
Trap Net
The primary trap net with integrated post rings and a convertible cap.
10 Ground Anchors
Two-piece anchors used to create secure outer attachment points around the trap.
10 T-Post Brackets
Brackets used when hanging the net on the T-posts.
10 Cinch Straps
Adjustable straps used to connect the ground anchors to the corresponding T-posts.
Tools You Need to Supply
These tools and materials are required for setup but are not included in the kit:
- 10 T-posts
- Post driver
- Hammer
- Screwdriver
- Impact driver, recommended for the anchors
Inventory the Kit and Gather Your Tools
Unpack the blue bag and confirm that every included part is present. Lay out the T-posts, post driver, hammer, screwdriver, and impact driver before beginning installation.
Setup Tip: Keep trap components and required tools in separate groups. Confirming inventory before traveling to the site helps prevent delays once installation begins.
Start with a Complete Inventory
A successful P.I.G. Hog Trap installation begins before the first T-post is driven. Review the kit and gather the required tools so you can move directly into site preparation, trap layout, post installation, anchor placement, and net deployment.
If any component is missing or damaged, identify the issue before setup begins. Do not substitute critical trap components without first verifying that the replacement is appropriate for the system.
About The P.I.G. Hog Trap
The P.I.G. Hog Trap, short for Portable Interception Gear, is a portable feral hog trapping system designed for landowners, farmers, ranchers, hunting properties, wildlife professionals, organizations, and government agencies.
Visit the website to learn more about the trap, review deployment resources, and explore feral hog control solutions.
Visit The P.I.G. Hog TrapReady for the Next Step?
Continue with the complete setup guide for site selection, T-post installation, ground anchors, net deployment, training mode, baiting, and trap mode.
Open the Complete Setup Guide